Showing posts with label diy tutorials. Show all posts

Tuesday, February 28, 2012

Valerian Tea

Some people forget that some of the strongest and most powerful ways to relax come from things we find in nature. Many people either don't have the time or need a quick fix. But if you can take the time to take pleasure in herbal recipes, you will find it's worth the extra time.

For my birthday this year my closest friend Katie gave me a wonderful book filled with herbal recipes and some herbs to make a valerian tea. At the time, and still now I have been going through a period in my life where I find my self extremely stressed and anxious more often than not. With no real triggers to pin point I can only assume that there is something off with my bodies balance. So I have been spending a lot of time trying to find different things to relax, hence the knit night and excessive tea habit. I have always known valerian root to be a "relaxing" herb if you will. Whenever I would go to my local herb and tea shop the owner would give her cat valeria root and the cat would almost immediately become relaxed. I've always wanted to try it but wanted to make sure I read more of the how to's in the book Katie got me before jumping in.

So I went for it and I was pleased, and relaxed.

Valerian Tea

Ingredients:
  • 1/2 tsp licorice root
  • 2 tsp lemon balm
  • 1 tsp valerian root
  • 1 1/2 cup water

1. Decoct the licorice root for 15 minutes. Do this by putting in a sauce pan with 1/2 cup cold water and heating on low till simmering.
2. Turn off the heat and add the lemon balm and valerian root. Allow to infuse for 45 minutes.

Valerian Root
Lemon Balm
Licorice Root
3. Strain and drink.

You can strain this from the pot or transfer it to a french press. My advice to you is that if you are going to use a french press, be sure to NOT use the same one you use for coffee to avoid the flavors mingling.

Monday, February 27, 2012

Freezeable?

A lot of people ask me how I cook, bake, prepare food for one person. I didn't always have a great system in place. I used to make a meal and that was all I ate all week for lunch and dinner because it's difficult to make lasagna for one. Over time I have made a system for myself of portions and freezer storage. This has, believe it or not, saved me money and time. I find myself spending most of the weekend, when I have free time, baking and cooking meals to my hearts content. I will make a different lunch and dinner each day and portion it out so I can freeze the remained into "frozen dinners" if you will. Then during the week I have an assortment of things to eat for lunch and dinner and I don't have to listen to people say, "Lasagna again?!"

When I do tell people what my system is, they usual say something like "I didn't think you could freeze that." So I recently came across this great blog article by a stay at home mom named Andrea. It was so through and really makes it easy for someone new to freezing to understand the ins and out. So instead of me posting all my tips and tricks, feel free to take a look at Freezeable Foods. You might even find a new trick or two to save your self the two thing we could all use more of: time and money.
This is the inside of my freezer.

Sunday, February 26, 2012

DIY Vanilla Extract

I started making my own vanilla extract when I was in college and on a much tighter budget than I am now. I did some research and found that it is extremely easy to make and super cost effective. Plus it I personally feel if gives more vanilla flavor to whatever your making that store bought extract, and saves you a bunch of money. You basically need 3 items which you can get for under $5: stick vanilla beans, liquor, and a jar. I personally save every glass jar that comes into my kitchen so I have one that I reuse to make my vanilla extract.

So what do I do?
Now all you are going to do is add these things together, shake, and wait. That simple!

What type of liquor?
For picking your liquor, I personally prefer vodka because of its neutral or flavorless quality allowing the vanilla to really do it's thing and come through. You can try experimenting with many different type of liquor, some people prefer to use rum, but whatever liquor you choose make sure it is AT LEAST 80 proof (or 40% alcohol.) I prefer 100 proof. You won't need to worry about anything having a "alcohol" taste to it because when heated sufficiently, the alcohol burns off leaving you with just the aromatic and flavorful vanilla essence.

Where can I find whole vanilla beans?
Sometimes you need to shop around for this. I find that buying from a tea shop or herb supply/holistic store is going to give you the best product and cheapest cost. I usually am able to purchase 1-3 bean for less than $1 at a tea and herb shop nearby my house. Some people have a few online sources that they like but I haven't done enough research to point you in the proper direction. If you have a great online resource for herb and spices please feel free to comment below.

How do I prepare it?
Preparing your vanilla extract is simple.

Your first step is to prepare your glass jar by sterilizing it. You can do this by placing the jar open side down in a pot of boiling water. Make sure to sterilize the lid as well. Let them boil for 10 minutes to completely sterilize. Once the jar is sterilized and cool you can prepare your extract.

For every 1-3 vanilla beans, depending on their size, you will need 1 cup of liquor. Cut the beans open lengthwise with a pair of scissors or a sharp kitchen knife to expose the beans and place in a clean glass jar that has been sterilized. The cover your beans with liquor. Make sure the jar seals tightly and give it a few shakes.

Once prepared, you will need to place the jar in a dark, cool cabinet and leave it there for around 2 months, shaking it one or two times each week. Over time you will see the liquid getting darker. (If you used rum, don't be surprised if it does not appear to get that much darker as the liquor its self is a darker color.)

After 2 months, feel free to use and enjoy it often. One of the best things about this is that you can continue to add to it by refreshing it with vanilla beans and liquor. Because it's primarily alcohol it can last a seeming eternity. So go on now, give it a try.

Monday, December 26, 2011

Papeeerrrr!

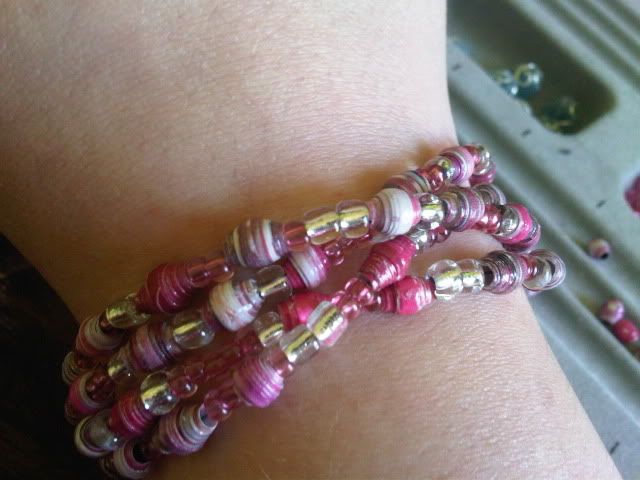
Did I get a chance to show you all some of my paper bead bracelets yet? Probably not.

A few years ago I commissioned Angela's Paper Beads to make me a custom order. Even though I love the time consuming and rewarding process of rolling your own super tiny paper beads, I was too busy at the time to bother. So I bought a ton from her and have been making all kinds of paper bead projects since.

Can I tell you? Up-cycled crafts are my favorite and they always get the most attention where ever. People always look at your pieces and are like, "what is that?!" Then are completely blown away when you tell them what it is. The only downside to these beads is that if you don't seal them right, you can ruin your piece in an instant. Obviously they aren't waterproof. If you stick your hand in a sink full of water or go swimming, you are obviously loosing you're hard work whether its sealed right or not. But you shouldn't be swimming with jewelry on anyways RIGHT?

Good ole Modpodge will do the trick, but if you want to go all out, and can do it outside, a polyurethane finish spray/varnish spray is mint. Other people like to use resin or nail varnish. It really is all personal preference.

Let me know your preference in the comment section below. I always love to hear whats working best for other people.

Monday, June 7, 2010

Rain rain go away...

What a sad rainy weekend! I want to do things outside. Make the rain and dull weather go away!

Well, if I can't go outside.. at least I can reflect on tie dye of past sunny days.
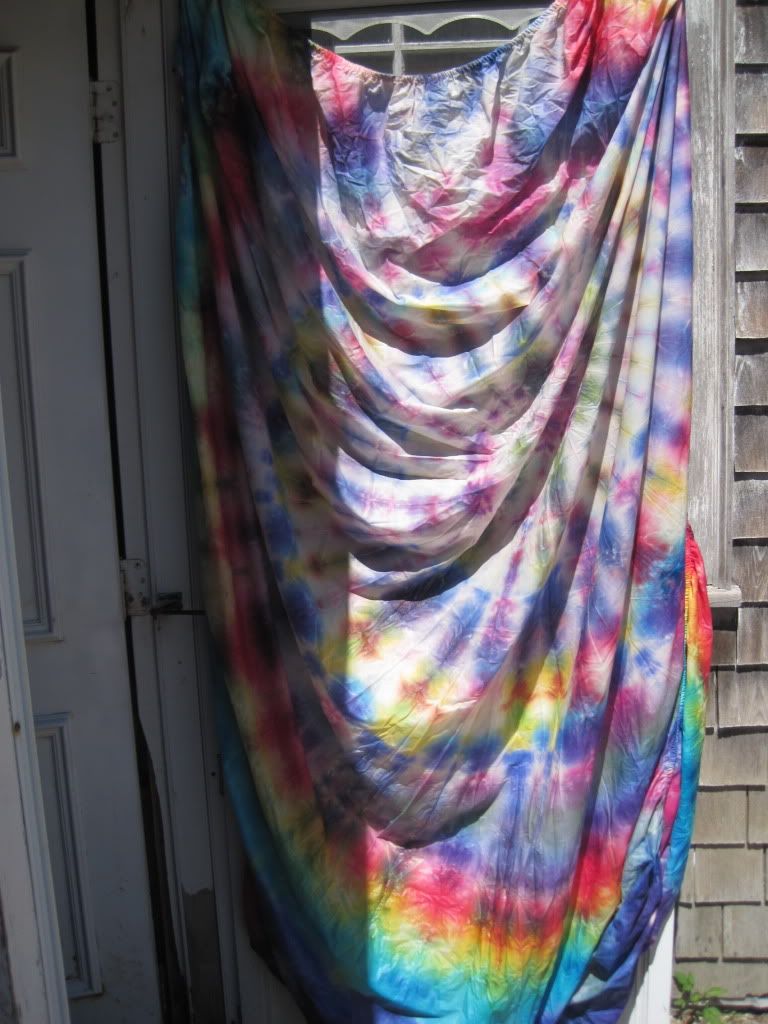
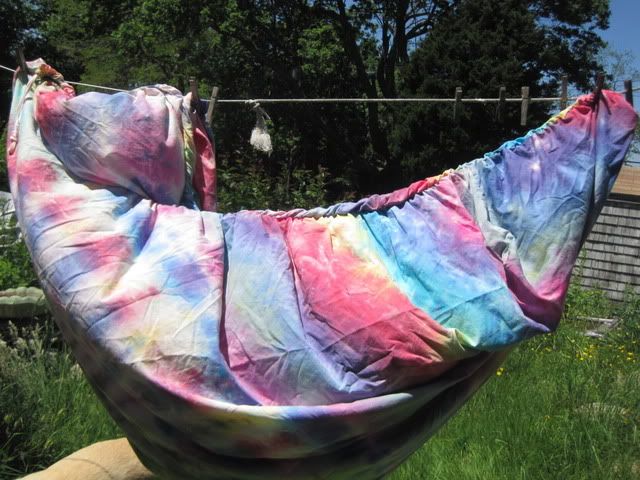
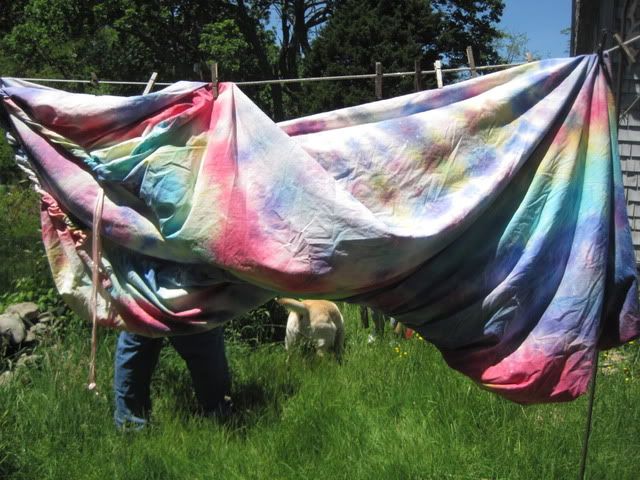
A friend of mine, who is now on vacation in Denmark, needed a sleep sack (also known as a sleeping bag liner) so she could avoid those nastiest that can sometimes live in hostel beds. So I decided to make her one using an old sheet.

It's easier if you use a flat sheet, but I use a fitted full sized sheet because that was all I had at the time. Basically all you do to this, is take a sheet and fold it in half. The sew the sheet shut along one bottom and 3/4ths of the length of the sheet. The flip it inside out and you are done!

Of course if you want to can add Velcro or a zipper to the other 1/4th of the length of the sheet so you can close it more. I added a draw string at the top so she could wrap it up and go.

None the less, enjoy some happy tie dye-ness.


That's the completed sleep sack hanging out to dry. But once again. Do as I say, not as I do: use a flat sheet!

Friday, September 11, 2009

tie dye-ing up a storm!

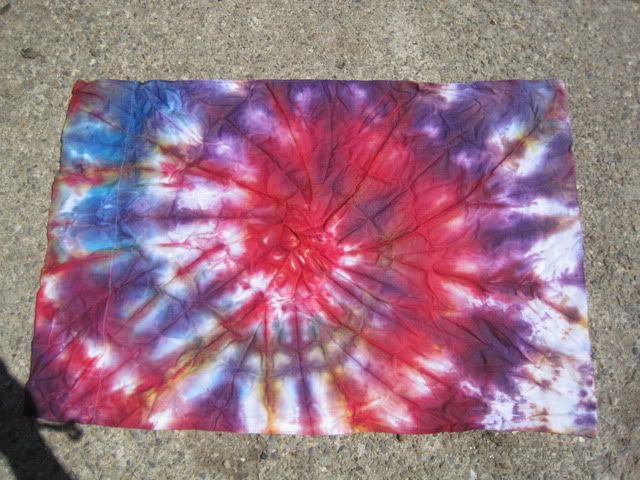
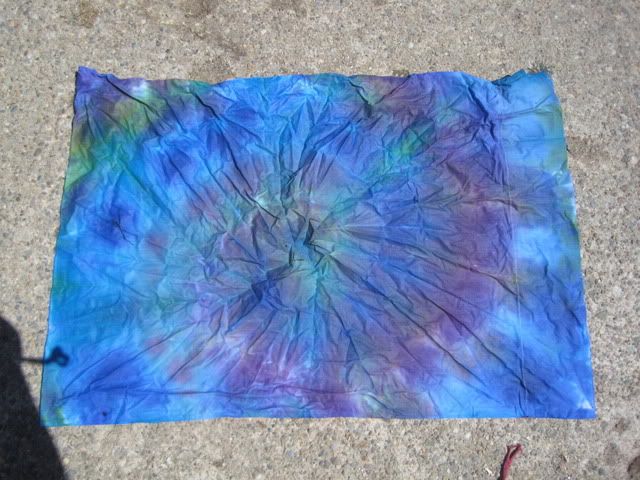
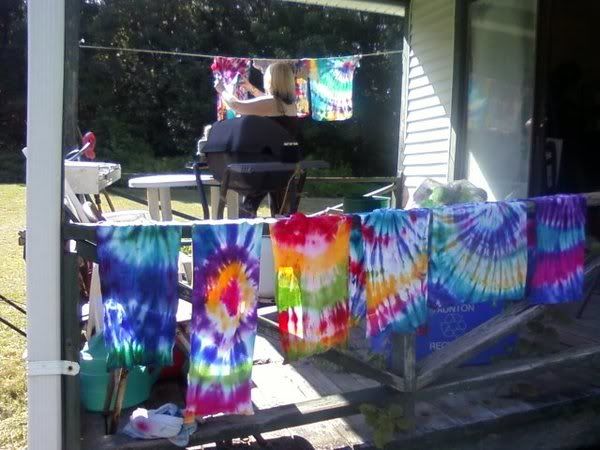
I have been extremely busy lately with school and work and unfortunately haven't had much time to do the things I enjoy. But when I have time, I find myself tie dying more than anything lately. My friends and I really enjoy having tie dye sessions/parties and trying out new color combos. Our new favorite color is by dylon called "bahama blue." (In the pictures it will appear as the really vibrant bright blue)

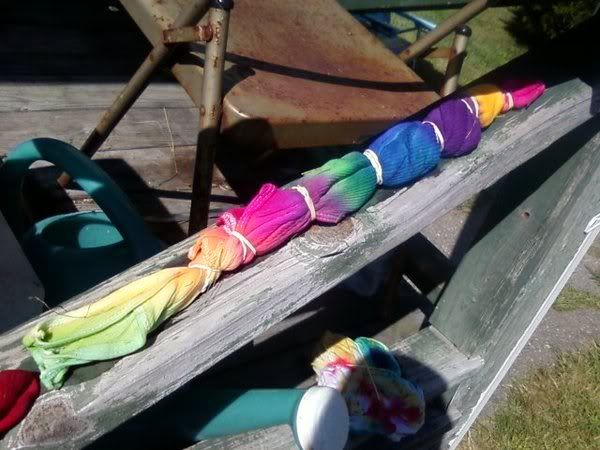
While I am still very much into making spiral designs, I started making a few "bulls-eye" shirts. These are probably the simplest to tie in three easy steps.
  1. lay shirt flat and with your fingers, pinch where you want the "bulls-eye" to start
  2. tie off sections with string or rubber bands (you can twist the shirt as you tie it off for a different look
  3. and dye away!
When it's all sectioned off and dyed it should look like this:
Fun stuff!

I'll work on posting pictures of the completed shirts hopefully later today. This batch came out fantastic and is one of my favorites so far.. but I probably say that everytime about everything. =]

Thursday, August 13, 2009

To DYE for..


Well, today was slightly overcast and otherwise dull. So I figured it would be a good day to spice it up with some tie dye-ing. Its simple enough and load of psychedelic fun.

You don't need much, just:
  • some random clothes (white fabric for best results)
  • fabric dye (I used dylon)
  • rubber bands or string
  • squirt bottles or plastic cups (for when you want to use multiple colors to dye)
  • garbage bags (to catch any dye mess you will make indoors)
  • rubber gloves
  • soda ash (also know as sodium carbonate. This is optional)
  • plastic wrap
The comes the fun. Once you have on some clothes and shoes you don't mind getting messy, set up your workspace by laying down the garbage bags. Take your garments, which should be pre-washed. Fill a bowl or basin with water and if you desire add one cup of soda ash to every gallon of water and soak your garments for 15-60 minutes. You will want to use gloves from this point on. If you feel you have difficulty tying up your garment with gloves on, do it before you soak it.

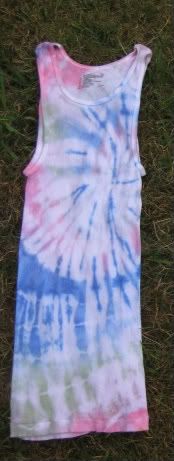
For this batch I did a lot of spirals. These are easy to do once you get the hang of it.
  • Simply lay the garment flat on the floor.
  • Grab a fork and stick it where ever you want the center of the spiral to be.
  • Then twirl the fork and the garment like you are twirling spaghetti.
  • Do it slowly and be sure to press the garment together to keep it tight.
  • Once it's all twirled up, place rubber bands around the garment to hold it tightly together.

Once your garment is all tied up its time to dye it up. Prepare all your dye according to the package directions. Make sure you follow them otherwise your dye wont be as bright! Squirt or pour the dye randomly or over certain sections, just make sure you thoroughly soak the garment!
Then let the dye set. Its best to wait at least 8 hours so you might choose to wrap up the garment in plastic wrap and leave it over night. (By wrapping it up you keep the dye from drying out)

Once the wait is over, rise the garment by hand in cold water until the water runs clear. Its also a good idea to run it through the washing machine in 2 or 3 hot washes and rinse cycles. You can wear the garments after this, but just in case you may choose to wash it separate from you other clothes for a while to make sure the dye doesn't bleed.
Remember to have fun with it! Try tying your garments different ways to get different patterns. Every time you rinse out your garments you will be in for a surprise.

Saturday, July 11, 2009

Happy Hour Lamps?

So, I am looking to re-do parts of my room and make it more colorful and unique. In my spare time googling random things, I cam upon this idea for a cocktail umbrella lamp. This look so fun and colorful! I have to have it!
Apparently the idea was made popular by a Rhode Island School of Design student. Such a fun play on such an ordinary object.

I have go to try this some time soon. You can try it too, here's the DIY tutorial from HGTV.com