Sunday, May 31, 2009

Everything is growing like woah!

Day 11
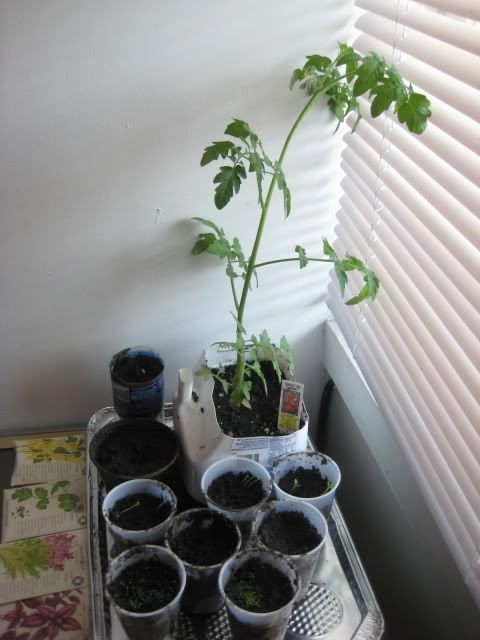
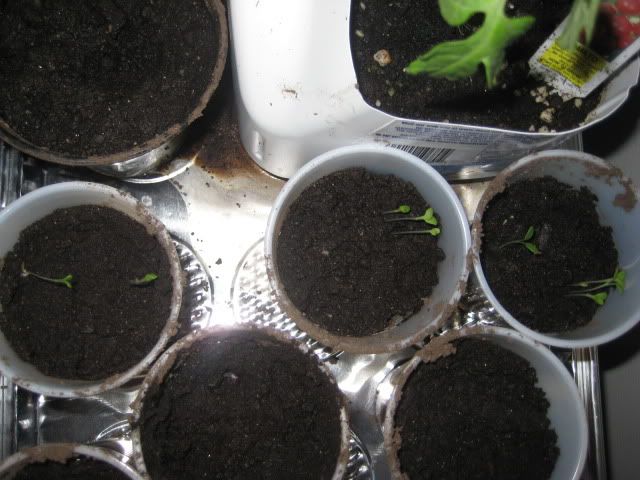
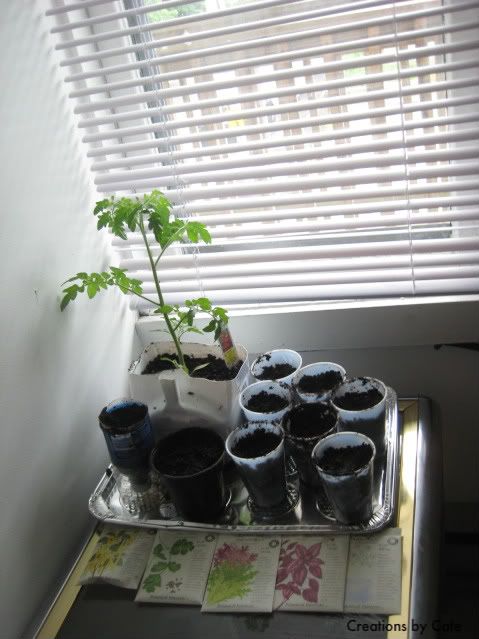
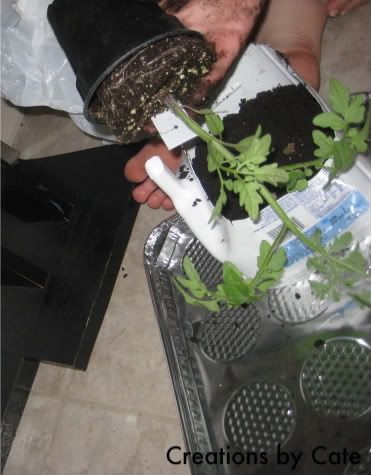
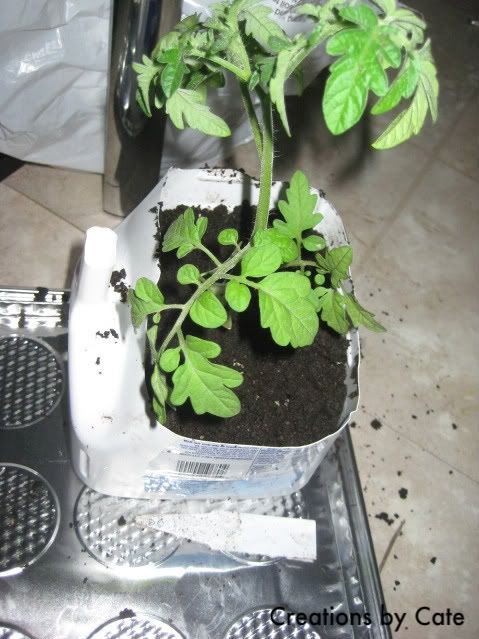
So yesterday when I woke up everything was officially growing. The beans had sprouted and the basil was finally poking through. Everything else is moving right along steadily... well, with the exception of the cilantro which has yet to sprout. My cherry tomato plant however brought be great joy yesterday. Look:
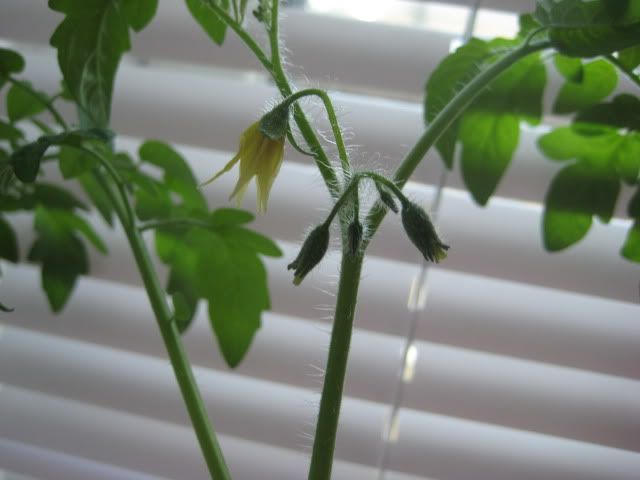
THE TOMATOES ARE ON THEIR WAY!

I am planning on getting a new shelf for my plants within the next few days and re-potting them to accommodate their rapid growing rates.

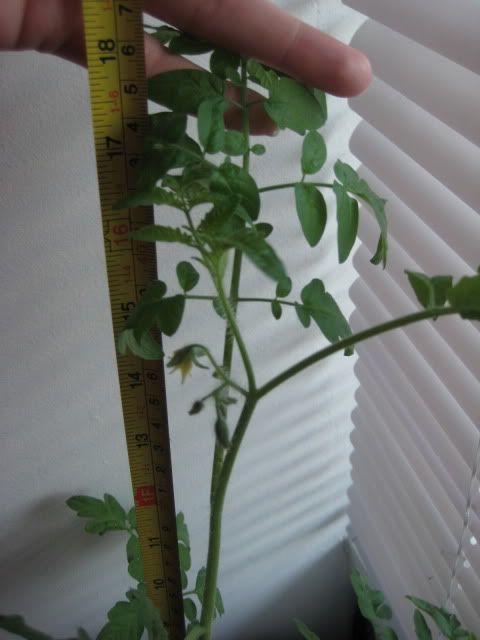
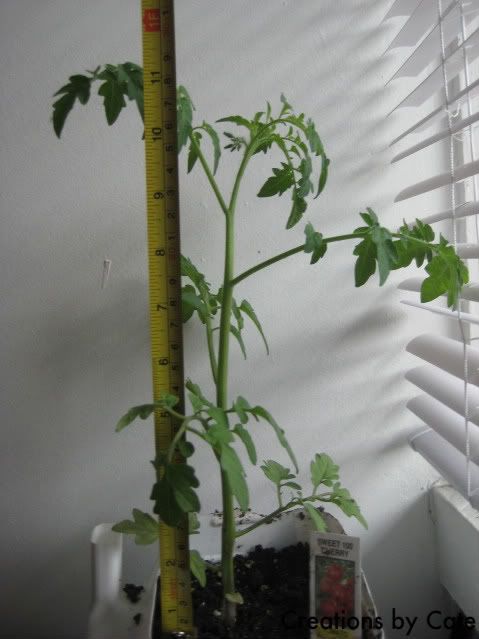
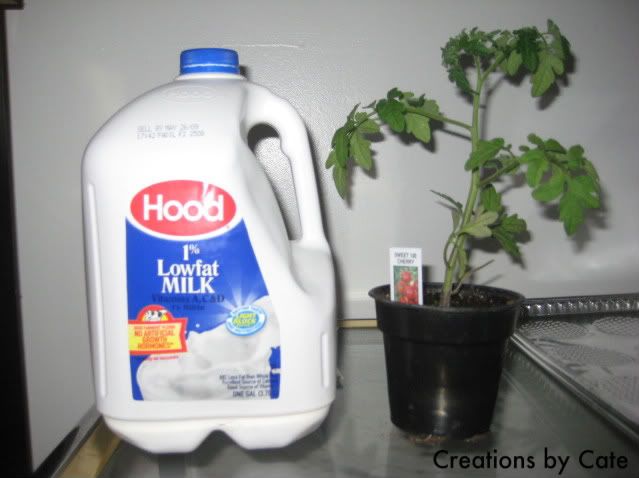
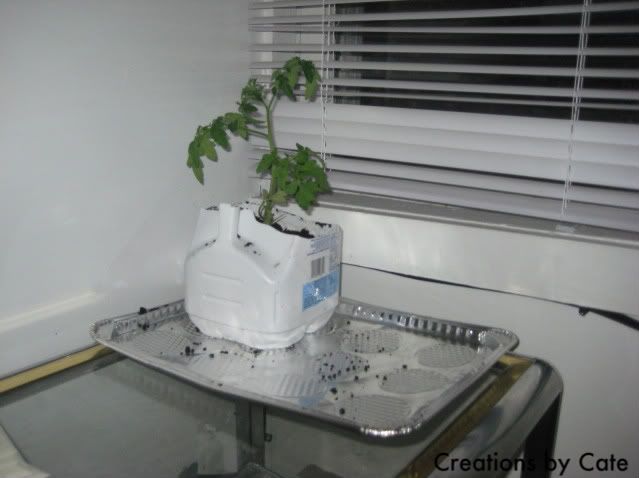
I am so excited for this. This plant always amazes me with how fast it grows. Come on now, I measured it yesterday and it was just about 18 inches tall now. I am going to need to get something to support it and keep it up right. I am thinking about trying to get a small piece of wood and gently supporting the plant with string. I have a feeling this bad boy is going to become top heavy very soon with all the weight of the tomatos.

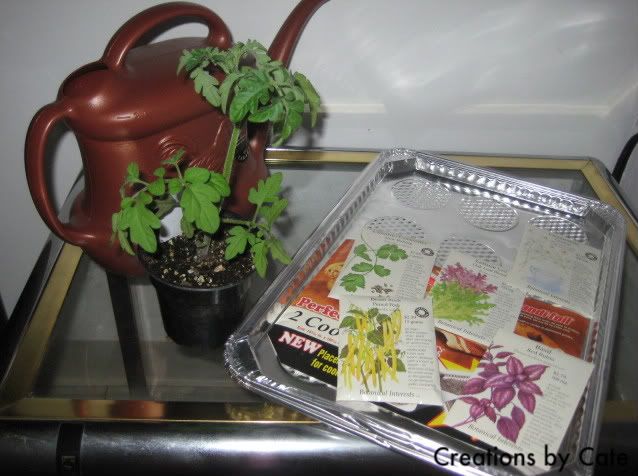
I also am going to need something for my beans to climb up very soon. For a second I didn't think they were going to sprout and then BAM! Amazing growth out of now where! I mean come on, my bean plant tripled in size in one day. I bet by the end of the day it will have grown even more. I underestimate its growing rate for sure.

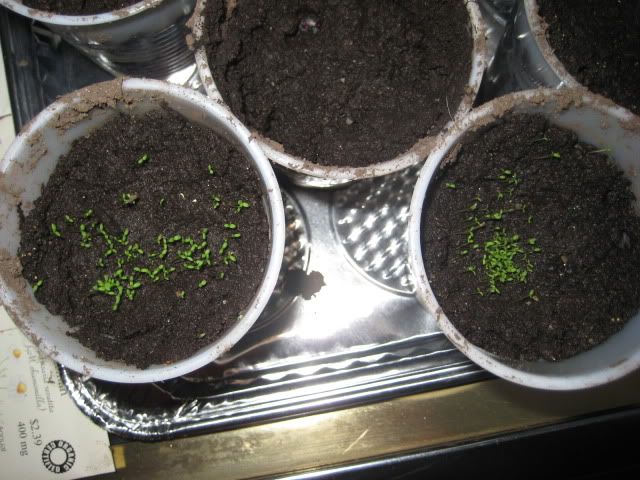
The lettuce and chamomile are growing excellently too. I was getting worried about the basil then I remember this is RED RUBIN basil so, obviously the color is different. I looked closer and sure enough.. it was sprouting.

Thursday, May 28, 2009

Crochet Away

So last night I found myself standing in a craft store perplexed. I stood there wondering, if I know how to knit, can I crochet? Well ladies and gentlemen, we are going to find out!

So first of all when I think of crochet, the memories are different. I have fun memories of my great aunt trying to teach me this craft in a loving calm manner. She was a good teacher but I was to young to remember much of what she was showing me. The basics have stuck but that's about it. Then I also have memories from my time working in an Alternative High School where many of the girls would crochet when they became angry or upset. So I when I first started to crochet last night, I found myself chuckling a few times as I remembered these girls yelling angrily and in the midst of a verbal battle while crocheting away while also reflecting on the words of wisdom from my great aunt.

I went and picked up some basic starter crochet needles and a couple 100% cotton sugar 'n cream self striping balls. Armed with a pattern from the craft store and little to no experience, (and by that I mean I haven't done this since I was like.. 7) I set out to crochet.

After a few hours of trying to reacquaint myself with the materials, I was met with some success!

Using the 5mm needle and very basic stitches I managed to create a small catch bag I can use in my car to hold credit cards, my phone, ipod, or any other random item.

It may not be perfect, but I am pleased with my first attempt at this in a long time. So yes, I can crochet. And yes, I need more practice.

Time to go practice some more.

Monday, May 25, 2009

Making a Recycled Pot

Day 5

Well, Happy Memorial Day to all first off. With a wonderful day off today I decided it must be time to plant some seeds. I have one recycled pot from the tomato plant, but still needed something for the others. I have seen many different and excellent ideas for planting with recycled products, like the newspaper planting pots. But since I have a lack of newspaper I decided to make a pot out of a empty water bottle.

I think it's so ridiculous that I can't recycle these bottles in the state where I live. (If you look on the back you will notice you they are only accepted in 3 or 4 states!) So let's find another use for it.

You are going to start by gathering your supplies. You will need a hammer, a nail, razor blade, and a clean water bottle. If you want to just make a simple plastic cup seedling planter you will need an razor and plastic cups. (I will talk about that later!)
So now that you have all your items, we are going to poke hole in the top of the water bottle cap. This will all for excess water to drain out of your pot. Take the nail and hammer a few holes, 3-5 should be plenty.
Now take the bottle and cut it just under the label.
With it cut in half just below the label, you will have enough room to tip the top of the bottle upside down and place it in the lower half. This extra room will be enough to keep the bottle from tipping over. The bottom will also help catch excess water, making this a good pot to put in a window with little mess.
Now you are ready to fill your bottle with dirt and plant your seeds!
If you want to use plastic cups the process for potting in these is simple. Take a small clean plastic cup or a large clean party cup. Take your razor or nail and poke 3-5 holes in the bottom of the cup, to allow for water drainage. Now add your soil and plant!

Now all my plants are successfully potted. You may choose to re-pot them but make sure you carefully read the labels of your seed packets. I decided to pot my cilantro in the old tomato pot because these plants don't re-pot well. This will be a good permanent home for my cilantro. Be sure also that you are paying close attention to how deep you are planting all plants and the space they may need to be separated from other seeds.

Also, make sure you do not make the mistake of watering your plants to hard. The seeds will come right out of the dirt defeating the purpose. Gently water your seeds and enjoy watching your garden grow.

The Cherry Tomato Plant Grows!

Day 5

This cherry tomato plant is growing like you wouldn't believe! if you remember form the first picture, where I should have measured it but didn't, it was about 4 or 5 inches tall. Well, I decided I need to keep track of how fast this bad boy is growing so I whipped out my tape measure. In five days this plant has basically doubled in size and is now just under 11 inches tall! Holy moly...


I can't wait to see how much this plant is going to grow by next week!

Thursday, May 21, 2009

Re-Potting Your Plants

Urban Garden
Re-Potting Your Plant


Since I am working with recycled materials and a low budget for my urban garden, I decided to use bottles that my local bottle return doesn't accept. You can use any type of bottle really but I picked a nice milk carton. I am going to be re-potting my sweet 100 cherry tomato plant. Whenever a plant gets too big for the current pot, you should make sure to re-pot is as soon as possible roots can continue to grow properly.

Before you start getting complex and cutting this bottle up, make sure you rinse it out thoroughly. Just because you like milk or soda, does not mean your plant will. ;-)

So once your bottle is rinsed out and you have selected the plant you would like to re-pot you will need to find an box cutter or pair of scissors.

Start to make your recycled pot by cutting the top 1/4th of the bottle off. This bottom half will give you enough space for your roots to grow.Discard the top half. Then cut a few small holes in the bottom of the pot so that excess water will be able to seep out to avoid drenching the plant.Now you are ready to add the soil. I am using organic soil. Fill the pot with soil so that it is 3/4 full. Make a small hole in the soil so that your plant will fit easily in.


Becareful when taking your plant out of its original pot. Carefully tip it over and your plant should slide out. If not carefully squeeze the pot till it slides out. Then plant it in the new pot.
Be sure to use extra soil to cover the newly re-potted plant.
And that's basically all there is to it! Now your plant is ready to grow in a larger and recycled pot.

Urban Gardening - Day 1

The Urban Garden
Day 1


So many times I have heard people complaining about not being able to garden because they live in an apartment or they don't have a backyard. This summer I am setting out to disprove this thought with recycled products, organic seeds and plants, and a small budget.

The first thing I needed to do was set up a space right near a window where my plants would be able to get adequate sunlight. Since this apartment is so tiny, I also needed to be sure this window wouldn't disturb the other creatures living here. I decided to also devote a small table right under the window to my garden and my garden only. So once my location was picked and my gardening table was in place I was ready to go on a hunt for wonderful organics to grow.

My first stop was to a favorite place of mine Seven Arrows Farm. This place is fantastic. They have such a wonderful selection of uncommon plants, herbs, loose tea, and so much more! The staff there are always so pleasant and helpful. But before I get sidetracked, I should tell you I was like a kid in a candy store trying to pick out what I wanted. I decided to get a potted Sweet 100 Cherry Tomato plant and packaged seeds of chamomile, oak leaf blend lettuce, red rubin basil, pencil pod bean, and cilantro. I made my choices based on what doesn't need a lot of space to grow and what I love to cook with and eat.

So after picking up my seeds and plants I decided to head out to get some potting soil and random supplies. I was able to find some organic potting soil for $1.50 for 8lbs and a watering can for $3. I also decided to pick up some 2 disposable cookies sheets for $2. These will be good for catching excess water in my urban garden.

Now that I have all the supplied I need, time to get planting!

Monday, May 18, 2009

Welcome

I love making things.
From baking to wire work.

In this blog you will see all the different things i love to create!