Showing posts with label re-potting. Show all posts

Monday, June 22, 2009

Lazy Sunday? Not me!

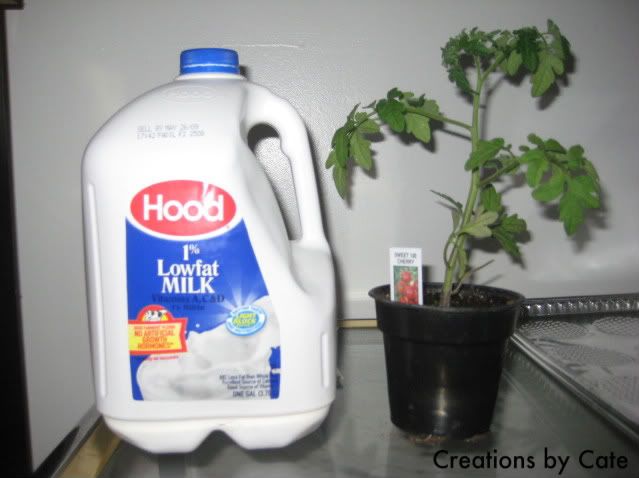
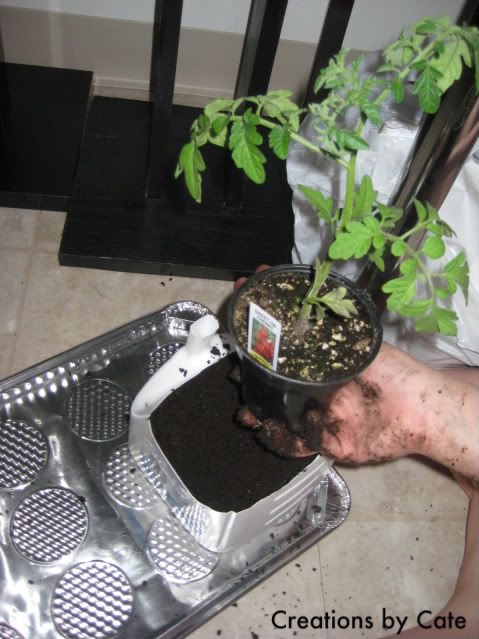
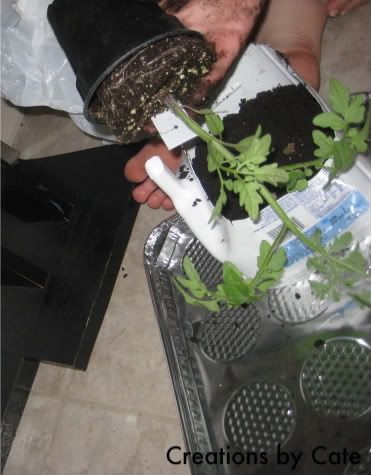
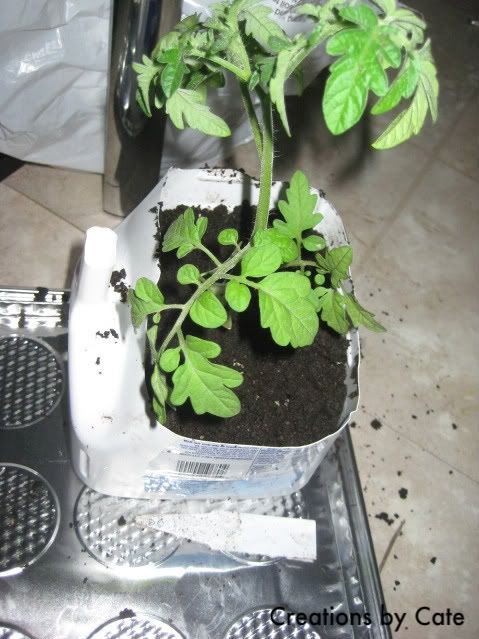
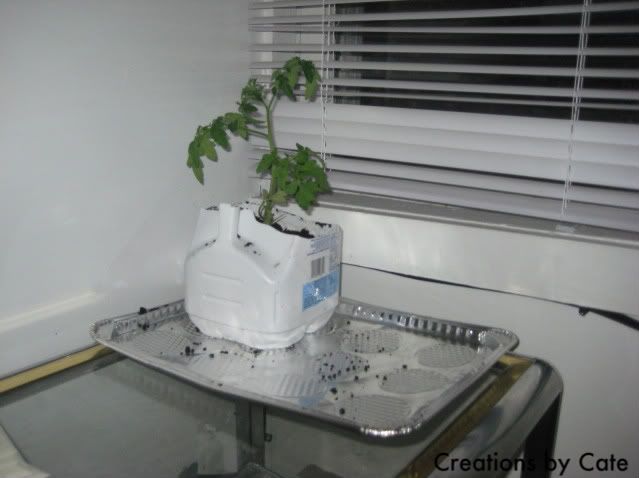
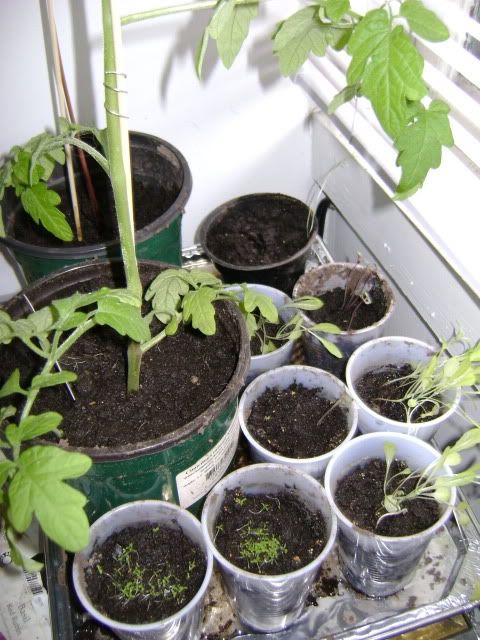
I had a really productive Sunday! I finally got a moment to re-pot some of my plants that desperately needed it. I found a few pots on freecycle that were in really good shape. I also managed to get to my local hardware store and bought a 2 large "sticks" to help support the plants. For the tomato plant I wrapped wire loosely in a few select places to keep it supported to the plant. I helped the bean plant to wrap itself around the "stick." Now it will have more direction as to where to grow.
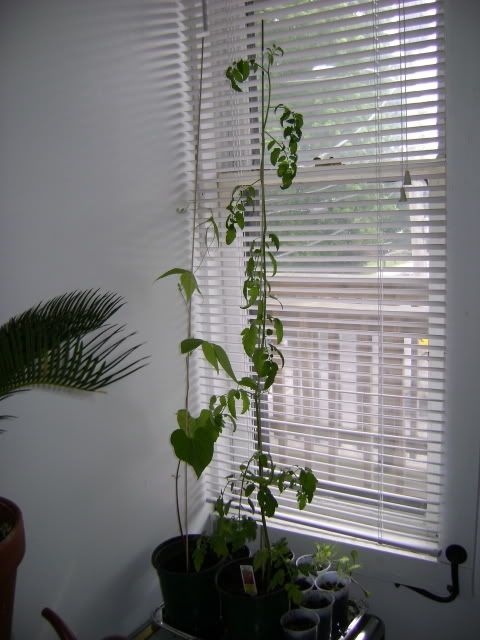
In other news, I am still waiting to find a good window box or other pot for the herbs. The cilantro FINALLY decided to appear.. but only one seed seems to be growing.. I think I am going to plant a few more since I love cilantro. I also still think its very funny that regardless of how many times I rotate these plants.. the continue to grow towards the sun. See:
It looks so much better, however I feel the need to decorate the pots. They look so plain at the moment. Another project?

Thursday, May 21, 2009

Re-Potting Your Plants

Urban Garden
Re-Potting Your Plant


Since I am working with recycled materials and a low budget for my urban garden, I decided to use bottles that my local bottle return doesn't accept. You can use any type of bottle really but I picked a nice milk carton. I am going to be re-potting my sweet 100 cherry tomato plant. Whenever a plant gets too big for the current pot, you should make sure to re-pot is as soon as possible roots can continue to grow properly.

Before you start getting complex and cutting this bottle up, make sure you rinse it out thoroughly. Just because you like milk or soda, does not mean your plant will. ;-)

So once your bottle is rinsed out and you have selected the plant you would like to re-pot you will need to find an box cutter or pair of scissors.

Start to make your recycled pot by cutting the top 1/4th of the bottle off. This bottom half will give you enough space for your roots to grow.Discard the top half. Then cut a few small holes in the bottom of the pot so that excess water will be able to seep out to avoid drenching the plant.Now you are ready to add the soil. I am using organic soil. Fill the pot with soil so that it is 3/4 full. Make a small hole in the soil so that your plant will fit easily in.


Becareful when taking your plant out of its original pot. Carefully tip it over and your plant should slide out. If not carefully squeeze the pot till it slides out. Then plant it in the new pot.
Be sure to use extra soil to cover the newly re-potted plant.
And that's basically all there is to it! Now your plant is ready to grow in a larger and recycled pot.